 by michael daigle · 9 Jan 2024
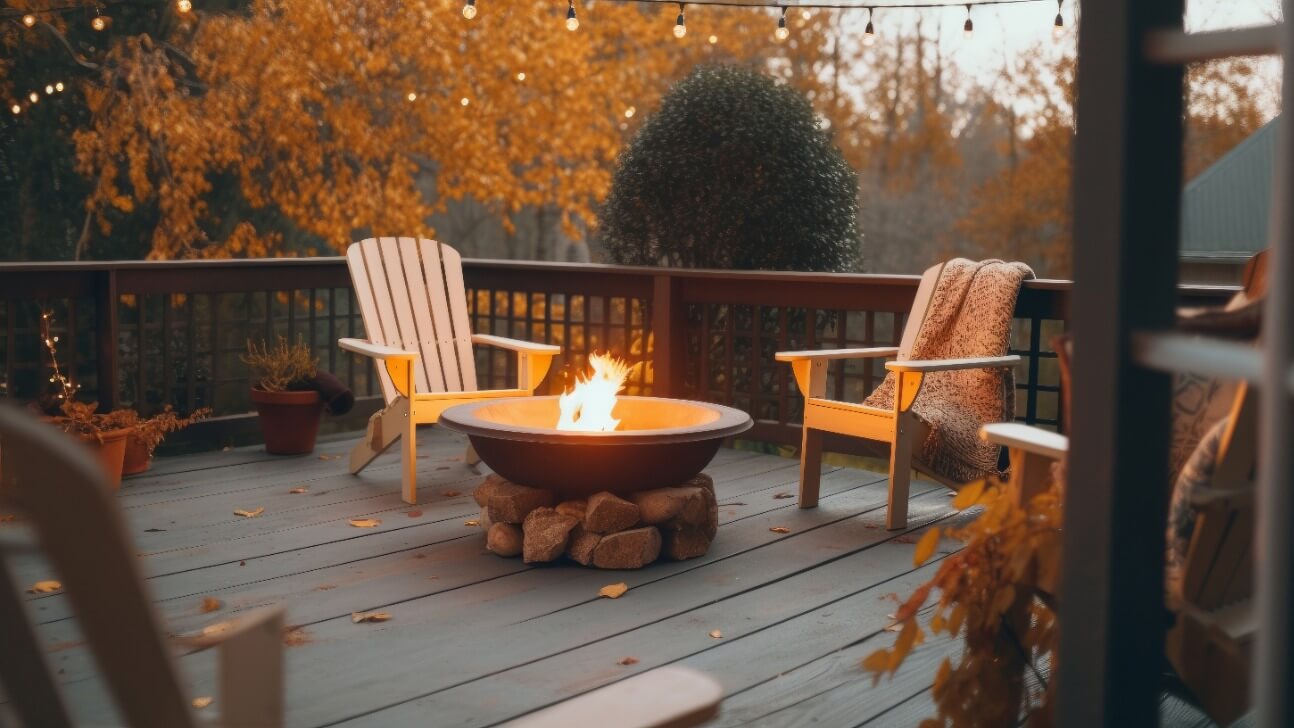
Table of Contents
So you've decided to spruce up your patio furniture by giving it a fresh coat of paint. Great idea! Painting outdoor furniture is an easy DIY project that can completely transform the look of your space. The key is choosing a high-quality, weather-resistant paint and prepping properly so your new paint job lasts more than just one season. In this article, we'll walk you through the best techniques and paint options for painting outdoor furniture so you end up with a durable finish that withstands rain, sun, and everything in between. By the time you're done reading, you'll be armed with all the knowledge needed to paint your outdoor furniture like a pro and enjoy your newly painted pieces for years to come.
Prepping Outdoor Furniture for Painting
Before you start painting, proper prep is key. Clean the furniture thoroughly to remove any dirt or debris. Scrub down the entire piece, then rinse and dry completely.
Lightly sand any rough areas or splinters. Wipe away dust with a tack cloth. Now you’re ready to patch any cracks or holes. Fill them in with wood filler or caulk, let dry, then sand smooth.
Apply a primer for the best results, especially if you’re painting over a darker color. It creates a solid base for your topcoat. Two coats of primer may be needed for the most coverage. Allow each coat to dry as directed.
Consider using a paint specifically for outdoor use, like exterior acrylic latex or oil-based paint. These are durable and weather-resistant. For metal furniture, use a primer and paint meant for metals.
Paint in thin, even coats, waiting for each to dry in between. Two to three coats usually provide good coverage. Work in sections if possible. Use a brush to paint spindles and hard to reach areas. Rollers and sprayers speed up larger, flat surfaces.
Don’t forget the underside and inside of the furniture. Paint all surfaces for the most protection. Once the final coat is dry, you may want to apply a clear topcoat like polyurethane to help prevent fading and scratches.
With the proper prep and technique, your newly painted outdoor furniture will look as good as new for seasons to come. The effort is well worth it!
Choosing the Right Paint for Outdoor Furniture
When it comes to painting outdoor furniture, choosing a durable paint that can withstand the elements is key. There are a few good options to consider:
Acrylic paint
- Water-based, so it’s easy to clean up and low-odor.
- Provides good coverage in 1-2 coats.
- Scratch- and fade-resistant, flexible and durable.
- Needs a clear topcoat for protection.
Oil-based paint
- Chemical-based, so it has strong fumes and requires paint thinner for cleanup.
- Provides excellent coverage and durability in 1 coat.
- Takes longer to dry but produces an extremely durable, glossy finish.
- Does not require a topcoat.
Latex paint
- Water-based, low-odor and easy to clean up with just soap and water.
- Typically requires 2-3 coats for good coverage.
- Scratch-resistant and moderately durable.
- Needs a clear topcoat for the best protection.
Chalk paint
- Water-based, low-odor and easy to clean up.
- Provides good coverage in 1-2 coats.
- Gives furniture an antique matte finish.
- Requires a wax or lacquer topcoat to seal and protect the finish.
The most important thing is choosing a paint specifically intended for outdoor use that suits your needs and skill level. With the right preparation and topcoat, any of these options can give your outdoor furniture a fresh new look that will last.
Oil-Based vs. Latex Paint for Outdoor Furniture
When it comes to painting outdoor furniture, you have two main options: oil-based or latex paint. Each has its pros and cons, so consider your needs and preferences to choose the right one.
Oil-based paint is durable and weather-resistant, perfect for outdoor use. It takes longer to dry but provides superior protection from the elements. The downside is that it has strong fumes, requires the use of solvents for cleanup, and the surface needs to be primed first. If durability is most important, oil-based paint is your best choice.
Latex or acrylic paint is water-based, so it has minimal odor and cleans up easily with just soap and water. It dries faster than oil-based paint but may require more frequent touch-ups. Latex paint can work well for outdoor furniture, especially if you seal the surface first with a primer. For a DIY-friendly option with low fumes, latex paint is ideal.
Other factors to weigh:
- Cost - Latex paint is typically cheaper than oil-based.
- Application - Latex paint is easier to apply and dries faster, while oil-based paint requires more patience.
- Glossiness - Latex paint typically provides a matte finish, while oil-based can give a glossy sheen.
- Safety - Latex paint is safer and more eco-friendly since it's water-based. Proper ventilation and protective gear are needed for oil-based paint.
In the end, evaluate how much protection your outdoor furniture needs and how much hassle you want in the painting process. For most casual uses, latex paint should work great and is the more DIY-friendly choice. But when maximum durability is essential, oil-based paint is the way to go, despite the drawbacks. With the right preparation and techniques, either type of paint can give your outdoor furniture a fresh new look and years of protection from weathering.
Techniques for Painting Outdoor Furniture
When painting outdoor furniture, following some tried-and-true techniques will help you achieve a professional-looking, durable finish.
Clean and Lightly Sand
First, clean your furniture thoroughly to remove any dirt or debris. Wipe away any splatters or spills. Then lightly sand the entire surface with fine-grit sandpaper (around 220 grit) to provide “tooth” for the new paint to adhere to. Wipe away dust with a tack cloth.
Prime Bare Wood
For bare wood, apply a coat of primer designed for outdoor use. Oil-based primers work well for outdoor furniture. Let the primer dry as directed, then lightly sand again. Priming bare wood helps prevent moisture damage and provides a consistent base coat.
Choose a Durable Outdoor Paint
Look for paints specifically meant for outdoor use that contain UV blockers and mildewcides. Some highly rated options include:
- Oil- or alkyd-based paints: Provide excellent durability and moisture resistance. Require solvents for cleanup.
- Latex or acrylic paints: Water-based, easy to apply and clean up. Look for ones formulated for outdoor use that offer UV and mildew protection.
- Chalk paints: Popular decorative finish that adheres well to outdoor furniture. Requires a protective topcoat like wax or polyurethane for durability.
- Spray paints: For small outdoor furniture like chairs, spray paint can provide an easy, even coat. Look for outdoor formulas.
Apply Thin, Even Coats
Apply at least two thin coats of your chosen paint, waiting for each coat to dry in between applications as directed. Thinner coats are better than one thick coat. Use a high quality brush to paint spindles and edges. For flat surfaces, a roller can speed up the process. Finish with a clear topcoat like polyurethane to seal the surface.
With the proper techniques and a durable paint formulation, your outdoor furniture will be ready to stand up to the elements and look great for years to come. Following these steps carefully and taking your time will result in a professional finish and lasting protection for your outdoor furniture.
Achieving an Even Coat on Outdoor Furniture
To get an even coat of paint on outdoor furniture, proper preparation and technique are key.
Clean and Lightly Sand
First, clean your furniture thoroughly to remove any dirt or debris. Wipe away any surface grime with a damp cloth and mild detergent. For stuck-on messes, scrub with an abrasive sponge or scrubber. Rinse well with water and allow to dry completely.
Once clean, lightly sand any rough areas with fine-grit sandpaper (around 220 grit) to provide “tooth” for the new paint to adhere to. Wipe away dust with a tack cloth.
Prime First for Best Results
For the most even finish and longest-lasting results, apply a coat of quality primer designed for outdoor use. Primer helps the paint bond securely to the surface. It also provides a uniform base coat so you’ll need fewer topcoats of paint. Allow the primer to dry as directed before moving on to your first coat of paint.
Use a High-Quality Paint
Choose a paint specifically formulated for outdoor use that contains UV protectants and mildewcides. These help shield the paint from the damaging effects of sun exposure and moisture. For furniture, a satin or semi-gloss sheen works well. It provides protection without a plastic-y look.
Use a Brush for Tight Spots
Use a paintbrush to paint hard-to-reach areas like spindles, crevices, and trim. Then use a paint roller for large, open surfaces. A roller sleeve with a medium nap (about 3/8 inch) works well for most outdoor furniture. Apply paint in even strokes, overlapping each pass slightly.
Apply Thin, Even Coats
It’s better to apply multiple thin coats of paint than one thick coat. Thin coats dry more evenly and are less likely to drip or sag. Allow each coat to dry as directed by the paint before applying another. Usually 2-3 coats of outdoor paint provide good coverage and protection for furniture.
With the right prep, tools, and technique, you’ll achieve an attractive and protective finish on your outdoor furniture. Your freshly painted pieces will be ready to use and enjoy for many seasons to come!
Preventing Peeling and Cracking of Outdoor Furniture Paint
To prevent your newly painted outdoor furniture from peeling, cracking or fading prematurely, it’s important to properly prepare the surface and choose a high-quality, weather-resistant paint.
Clean and Sand the Surface
Give your outdoor furniture a good scrub to remove any dirt or debris. Use fine-grit sandpaper, around 220 grit, to lightly sand the entire surface. This roughs up the surface so the new paint has something to grip onto. Wipe away dust with a tack cloth.
Apply a Primer
For the most durable finish, apply two coats of primer designed for outdoor use. An oil-based primer works well for wooden furniture. Let the primer dry as directed. Primer helps the paint adhere better to the surface.
Choose a Durable Outdoor Paint
Look for paint specifically meant for outdoor use that can withstand exposure to sunlight and weather. Urethane or acrylic paints are good options. An enamel paint also works well and provides a smooth, glossy finish. For the best protection, choose a paint with UV protection and a satin or glossy sheen. Flat paint won’t last as long outdoors.
Apply Multiple Thin Coats
Apply at least two coats of paint, waiting 2 to 3 hours between coats. Thinner coats dry better and provide better coverage than thick coats. Use a brush to paint edges and crevices, then use a roller for large, flat areas. Let the final coat dry completely, ideally 24 to 48 hours, before placing the furniture outside.
Use a Clear Topcoat (Optional)
For extra protection against the elements, apply two coats of an outdoor sealant or topcoat. A urethane or acrylic sealant is a good choice. Reapply the topcoat every year or two to maintain protection.
By properly preparing the surface, choosing a durable outdoor paint and applying it correctly, your newly painted outdoor furniture will look fresh for many seasons to come. An annual maintenance coat of paint or topcoat will help prevent peeling, fading and other weathering damage so you can enjoy your outdoor space for years.
Painting Wicker, Rattan, and Metal Outdoor Furniture
When it comes to painting wicker, rattan, and metal outdoor furniture, the key is using a durable paint that can withstand the elements. These materials require paint that is specifically meant for outdoor use.
Regular indoor paint will not hold up and will start to crack, peel, and fade quickly. Outdoor paint is formulated with chemicals to make it more weather-resistant. For the best results, clean and lightly sand the furniture before painting to provide "tooth" for the paint to adhere to.
Painting Wicker Furniture
Wicker furniture should be painted with an outdoor paint, preferably acrylic latex or oil-based. Before painting, fill any gaps or holes in the wicker with caulk, then lightly sand the entire surface. Apply at least two coats of paint, waiting for it to dry completely between coats. For extra protection, finish with a clear sealant.
Painting Rattan Furniture
Rattan furniture also needs an outdoor paint, like acrylic latex. Clean the rattan to remove dirt and grime, then lightly sand any rough areas. Apply a coat of primer for the best adhesion. Follow with two coats of paint, waiting for each coat to dry. Add a topcoat of polyurethane or acrylic sealant.
Painting Metal Furniture
Outdoor metal furniture should be painted with outdoor enamel, acrylic latex, or oil-based paint. Lightly sand the metal to rough up the surface, then wipe away dust. Apply a coat of rust-preventing primer, then two coats of paint. For extra protection from scratches, add a clear topcoat.
To keep your newly painted outdoor furniture looking its best for years to come, limit exposure to direct sunlight when possible. Cover or store the furniture during winter. Touch up any scratches or chips as soon as you notice them. With the proper prep and the right outdoor paint for your material, you'll be enjoying your refinished patio set for seasons to come!
Top 5 Durable Outdoor Furniture Paint Brands
When it comes to painting outdoor furniture, the paint you choose is critical for longevity and durability. Here are some of the top brands for outdoor use:
Sherwin Williams Duration
This acrylic latex paint is specially formulated for exteriors and provides maximum protection from weather and wear. It comes in satin, semi-gloss and gloss sheens. Duration can last up to 15 years between touch-ups.
Benjamin Moore Aura
Aura exterior paint uses Benjamin Moore’s Color Lock technology for superior fade resistance. This 100% acrylic paint is very durable and comes in a wide range of colors. It dries quickly and provides years of protection for outdoor furniture.
Behr Premium Plus Ultra
Behr’s highly-rated exterior paint uses a 100% acrylic formula that is resistant to chipping, peeling and cracking. It provides protection from UV damage and harsh weather conditions. Premium Plus Ultra comes in flat, satin and gloss finishes and a variety of on-trend colors.
Valspar Duramax
Valspar’s premium exterior paint uses a durable resin formula to stand up to extreme weather while maintaining color. Duramax provides protection from fading, chipping and peeling for up to 15 years. It is available in satin, semi-gloss and gloss sheens and a wide range of colors.
Kilz Exterior Siding, Trim & Deck Paint
Kilz makes a highly-rated exterior paint for outdoor furniture that uses an acrylic resin to provide superior adhesion and weather resistance. It protects against fading, chipping and peeling for up to 15 years. Kilz comes in flat, satin and glossy finishes in many bold and neutral colors.
Choosing a high-quality, acrylic latex paint and following good application techniques will ensure your outdoor furniture is ready to withstand many seasons of use. These top brands are designed specifically for the challenges of outdoor exposure and will keep your furniture looking its best year after year.
Painting Outdoor Furniture FAQ
Painting outdoor furniture like chairs, tables, swings and benches is a great way to give old pieces a new lease on life or make inexpensive finds look custom. However, with exposure to sun, rain and temperature changes, outdoor paint has some special considerations.
What kind of paint should I use?
For outdoor furniture, use exterior paints that can withstand weathering. Popular options include:
- Acrylic latex paint - Water-based, durable and resistant to cracking. Can be used on wood, wrought iron and aluminum.
- Oil-based paint - Takes longer to dry but very durable. Use on wood and metal. Strong odor, so use in a well-ventilated area.
- Porch and deck paint - Specially formulated for outdoor wood and composite decking. Waterproof and scuff-resistant.
- Rust-preventative spray paint - For wrought iron furniture. Stops rust and prevents corrosion. Needs a topcoat sealant.
- Chalk paint - Popular decorative paint comes in outdoor formulas. Use a sealant for protection.
Do I need a primer?
For the best results, use a primer. Primers help the paint adhere better to the surface. For wood, use an exterior primer. For metal, use a rust-preventing primer. If painting over previously painted furniture in good condition, a primer may not be needed. Test a small area first to check adhesion.
How do I prepare the furniture?
Proper preparation ensures a smooth finish and long-lasting results:
- Clean the furniture thoroughly. Scrub away dirt and debris. Rinse and let dry completely.
- Sand rough or glossy surfaces lightly. Wipe away dust with a tack cloth.
- Apply 1-2 coats of primer (if using). Let dry as directed.
- Lightly sand between coats of primer and paint.
- Apply 2-3 coats of your topcoat paint, waiting 2-4 hours between coats.
- Use a sealant like polyurethane (for wood) or clear enamel (for metal) to protect the finish.
Any application tips?
- Use a brush for small details and edges, roller for large flat surfaces.
- Work in sections if possible. Start with chair seats, then backs, legs, etc.
- Check for drips or uneven coverage and smooth them out before the paint dries.
- Don't forget the underside of the furniture! Protect all surfaces from weathering.
With the right prep and products, your newly painted outdoor furniture will look great for many seasons to come. Take your time and enjoy this rewarding DIY project!
Final Thoughts
So now you have all the tips and tricks for painting your outdoor furniture and making it last. The most important things to remember are choosing a high-quality, weather-resistant paint, properly cleaning and preparing the surfaces, using a sealant for extra protection, and maintaining your furniture with regular inspections and touch-ups as needed. If you follow these best practices, your newly painted outdoor furniture can look great and function well for many seasons to come. The effort you put in now will be well worth it when you're relaxing on your patio and enjoying the fruits of your labor all summer long. So grab your paintbrush, turn on some tunes, and get to work—your outdoor oasis awaits!